DIY Baby Bump Growth Timeline for Baby Shower
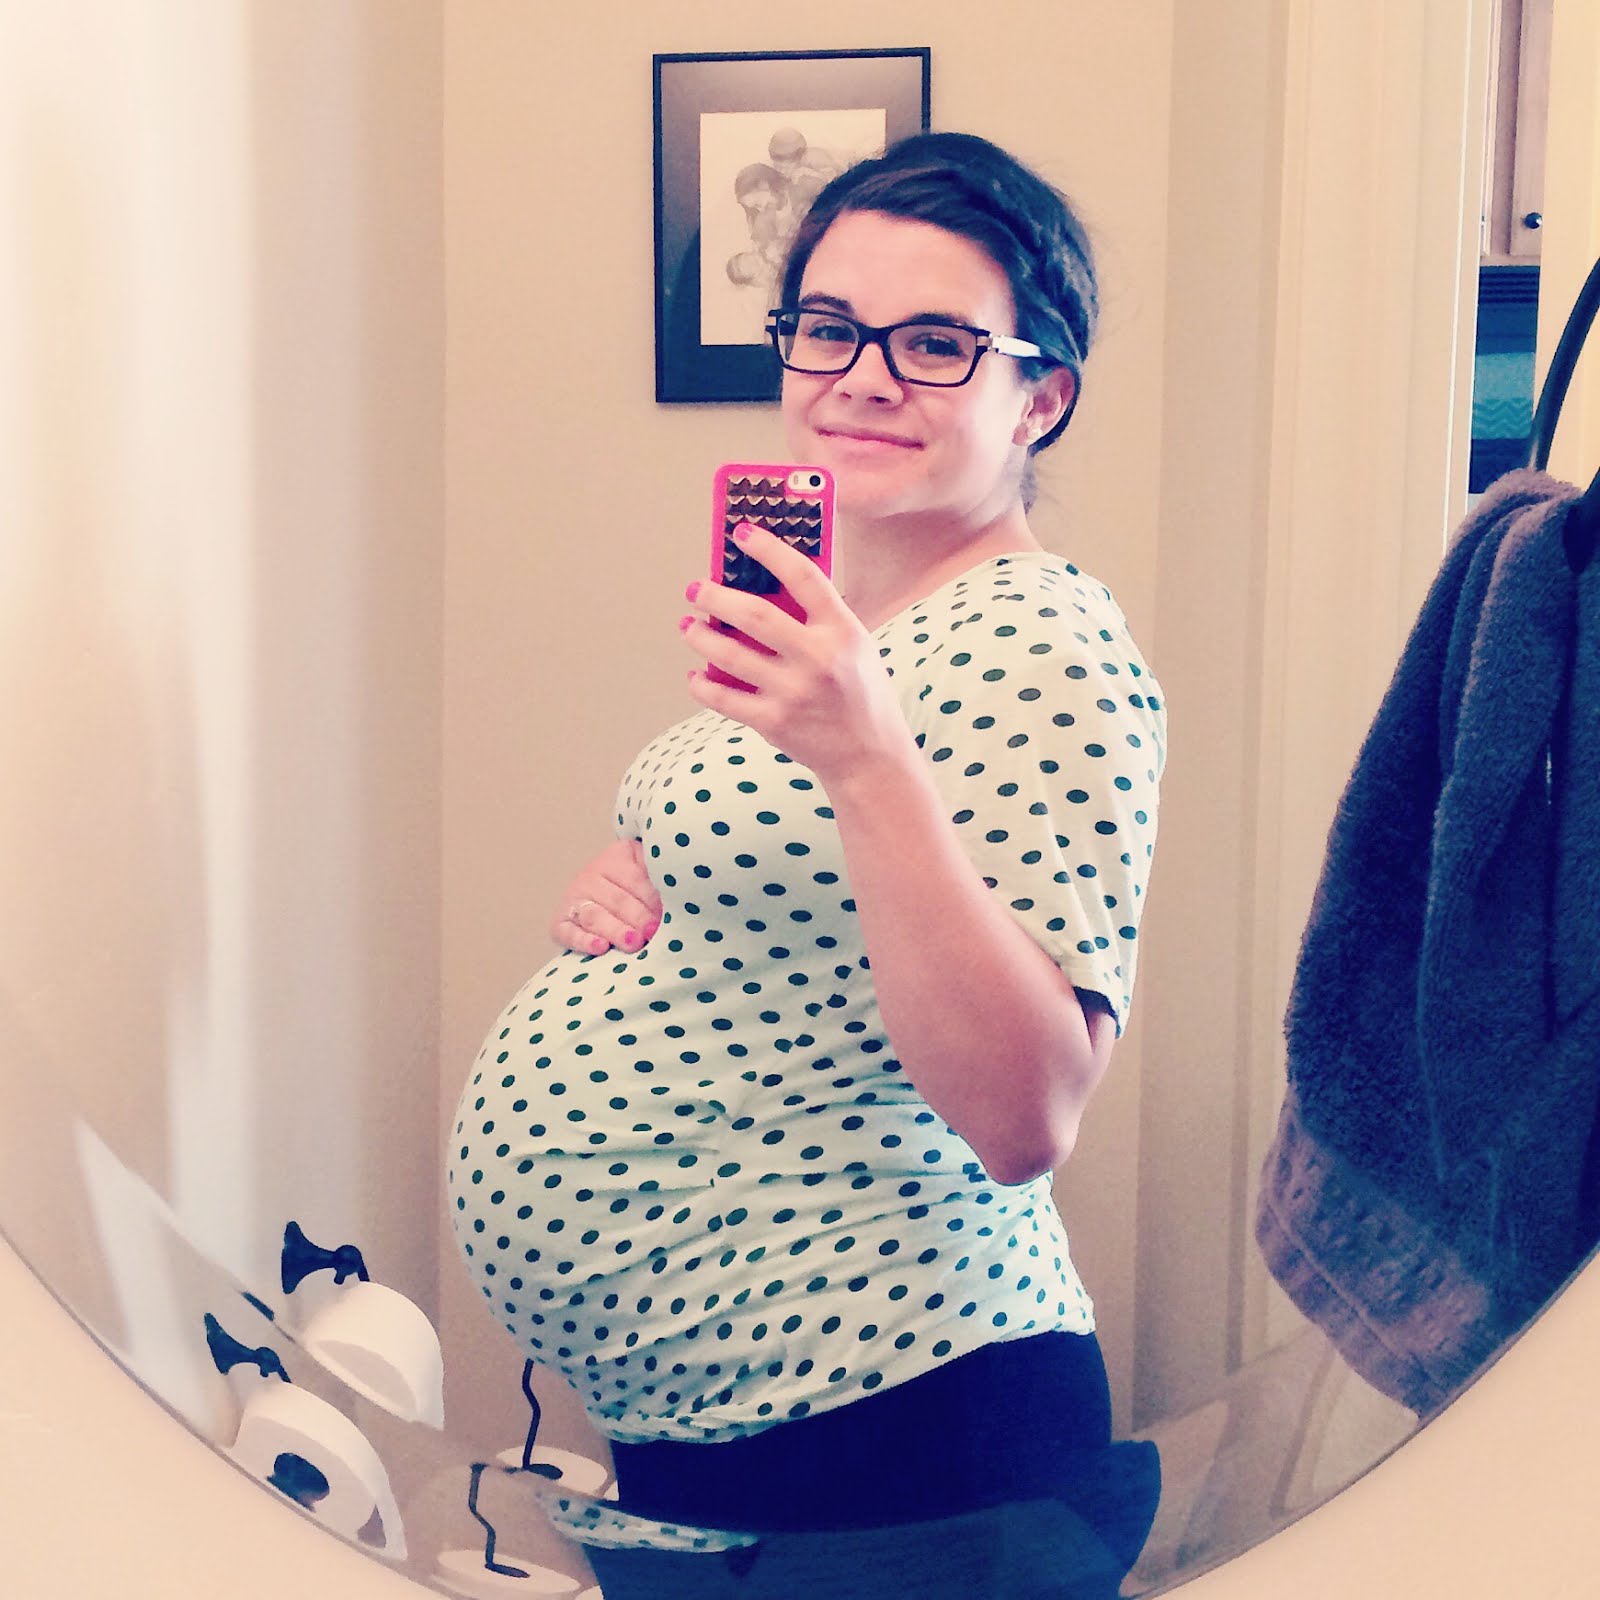
I loved being able to take weekly baby-bump pictures when I was pregnant with little Mini. It's so fun now to look back in my chatbooks and see how my belly grew!
My FAVORITE decoration at my baby showers was one that I made myself. I have no clue where the idea came from, but as soon as I thought of it I fell in love! Now I'm going to share with all you mommies-to-be how to make one for yourself!


How does your Belly Grow??
Baby Bump Growth Timeline
*This post contains some affiliate links
STEP 1: Pictures
Hopefully you have a good number of pictures of your growing baby bump over the weeks... it isn't necessary to have one for each week (I didn't do an every week timeline). Get the pictures printed in 4x6 or 4x4 for instagram pictures.


It's helpful later on if you record which week that picture was taken on the back of the picture (ie: "20 weeks")

STEP 2: Mini Chalkboards
I happened to find these mini chalkboards at my mom's house... but I found them for all of you at Amazon!
 |
They come in a set of 6... for about $8...so depending on how many pictures you decide to do for your timeline (ie: every week, every other week, or random weeks like I did) will depend on how many sets you need to order.
On these chalkboards, use some chalk or a chalk marker (these are my favorite) to write which week each picture was taken.

I chose to do every 10 weeks with a pink chalk marker, to kind of differentiate the big weeks. Also, I wrote things like "Week 16...baby Hall is a girl!!" or "third trimester!" to set apart those big occasion weeks.

STEP 3: Hanging
I love to use this kind of twine to hang things. I think it's super cute! I got a small roll of it at Walmart for like $2, or you can buy it on Amazon. This is my favorite and what I used to hang everything at my baby showers... but any kind of yarn or thicker string would probably work just as well.

Before you cut it lay out all your pictures in the spacing you want them on the floor. Then line up the twine so you can see how long you need it (I always add an extra foot or foot and a half on each end because you never really know how you're going to hang it, and you can always cut it later.)


Once your twine is cut you hang the twine and use the clothespins on the back of the chalkboards to hang the pictures on it!
TIP: I used command hooks like these to hang the decoration on the wall. I didn't want to damage the walls at our hosts house, so these were perfect!


And that's it! Three easy steps for the cutest baby shower decoration! It is fun, personal, and people at my showers LOVED it!


0 comments